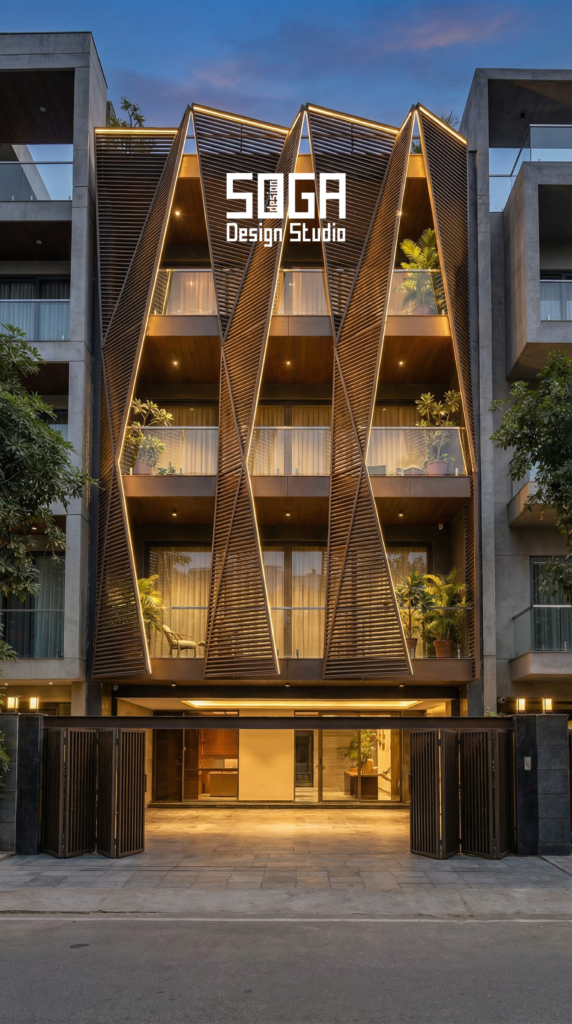
An elevation is inspected at seven points, not one, and six of them happen before a single visible panel goes up. By the time a facade looks like anything from the road, every decision that determines whether it is right has already been taken and paid for. A site checklist that starts when the facade becomes visible is a checklist that starts too late.
Most Indian house owners inspect their elevation exactly once, at the end, and discover that the things they object to — a joint that tapers, a course that dies short of the parapet, a panel cut freehand around a downpipe — are now permanent. None of those are workmanship accidents. Each had a moment weeks earlier when it was a five-minute conversation.
This is the stage-by-stage list: what to check, what to reject, and what each miss costs if it is caught later instead. Design studies shown are SOGA concepts.

The Seven Stages, And What Each One Decides
Every stage below closes a door. Once it is closed, the fix moves from free to expensive, and the table’s last column is the real argument for turning up.
| Stage | What to inspect | Cost if caught later instead |
|---|---|---|
| 1. Frame survey, before fabrication | Slab edge line, floor heights, column plumb, diagonals | Re-cutting panels: Rs 1,400–3,600 per sq ft |
| 2. Shop drawing approval | Part-number count, joint widths, corner and parapet details | Re-fabrication and 6–10 weeks |
| 3. Mockup or first sample panel | Colour at full size, relief depth, real joint, fixing | Re-finishing: Rs 350–900 per sq ft |
| 4. Substructure installation | Bracket type, anchor embedment, rail level and plumb | Strip and re-fix: Rs 180–450 per sq ft |
| 5. First bay of panels | Joint achieved vs specified, alignment, finish match | Rises with every bay installed after it |
| 6. Difficult conditions | Corner return, parapet junction, downpipe crossing | Usually permanent |
| 7. Snagging and handover | Damage, sealant, drainage, spares and documentation | Warranty disputes |
Stages 1, 2 and 3 are the high-leverage ones. Anything found there is a drawing or a decision. Anything found from stage 4 onward is material that already exists, and the conversation changes from ‘what should this be’ to ‘who pays’.
If an owner can only attend three of the seven, attend the frame survey, the mockup and the first bay. Those three catch the large majority of what goes wrong.

Stage 1: The Frame Survey, And The Four Numbers That Matter
Before any panel is cut, somebody must measure the building that was actually built and compare it to the one that was drawn. On Indian house projects this step is skipped roughly four times in five, and it is the single largest cause of expensive elevation rework.
You do not need to take the measurements yourself. You need to see the survey and check four numbers are in it.
- Slab edge at each floor, against the setting-out line — not against the floor below. Beyond about 25 mm the bracket adjustment is committed before installation even starts.
- Floor-to-floor heights compared to each other. A facade with a fixed course height cares about consistency far more than absolute accuracy. One floor 40 mm taller than the rest will show as a widening band.
- Plumb of the two end columns over the full height. This decides whether a horizontal band can be level and equal at both ends of the frontage.
- Diagonals of the frontage. The check nobody does. A 25 mm difference across the diagonals means the building is not square, and every horizontal line will run out relative to the parapet.
A normal, competent Indian RCC frame is built to roughly ±15 to ±25 mm. That is not a defect — it is the accuracy the trade is priced for. The facade has to be designed to absorb it, and the survey is where you find out whether it can. If the frame has come out beyond what the design assumed, the remedies are all still cheap at this moment and none of them are cheap two weeks later.
For the detail of what a pre-installation survey must measure and to what accuracy, and how brackets absorb frame deviation, see our guide to facade fixing brackets and anchors into an RCC slab.

Stage 2: Reading Shop Drawings Without Being An Engineer
Shop drawings are the fabricator’s own drawings of every part, produced from the designer’s set and returned for approval before cutting begins. This is the last stage at which a change costs nothing but time.
Four questions do most of the work, and every one is answerable in a meeting.
- Count the part numbers. A frontage of 96 units with one part number is a system. The same frontage with 96 part numbers is 96 separate problems, and it will be slow, costly and error-prone however well it is drawn.
- Ask the joint width in millimetres. If the answer is a number, the drawing is real. If it is “as per site”, it is not.
- Ask what happens at the external corner. Every elevation has one. There should be a detail at 1:5, not a freehand mitre.
- Ask where the bracket lands relative to the slab edge. If it needs 120 mm of slab and the slab offers 75 mm, that is a redesign — far cheaper on paper than on delivery day.
Expect one to three approval cycles. A fabricator who returns drawings that are approved first time on a geometrically complex facade has usually simplified something quietly; compare the returned drawings against the design intent rather than only against the previous issue.
Joint width is not purely an appearance decision — it also has to carry thermal movement, which on a 6 m metal run through an Indian summer is another few millimetres. That sizing is set out in facade panel joint width and thermal movement.
Stage 4: Substructure, The Half Nobody Photographs
The substructure is installed, inspected and then permanently hidden. It is also the part that decides whether the facade stays on the building, so it is worth one deliberate visit before it disappears.
Three things are worth confirming, and all three are visible without instruments.
| What to check | What good looks like | What to reject |
|---|---|---|
| Bracket type | Three-way adjustable — in and out, up and down, along the facade | Fixed plate brackets with no adjustment |
| Anchor embedment | As specified, into sound concrete, correct edge distance | Anchors into the slab arris or into blockwork |
| Rail line | Level and plumb checked with a line, not by eye | “It will be adjusted when the panels go on” |
| Isolation at dissimilar metals | Separating washer or tape at every contact | Bare steel bolted directly to a different metal |
| Drainage path | Cavity clear, weeps unobstructed | Cavity packed with offcuts or debris |
The adjustable bracket is the component most often value-engineered out of Indian house packages, because it looks like an expensive way to hold up a cheap panel. Removing it transfers the entire frame deviation onto a joint that was drawn at 8 mm, and no site can absorb that. If the brackets on site have no adjustment, stop and ask what changed.
Photograph the substructure before it is covered. It costs nothing, and it is the only record that will exist if a panel has to come off in five years.
Stage 5: The First Bay Is The Whole Facade
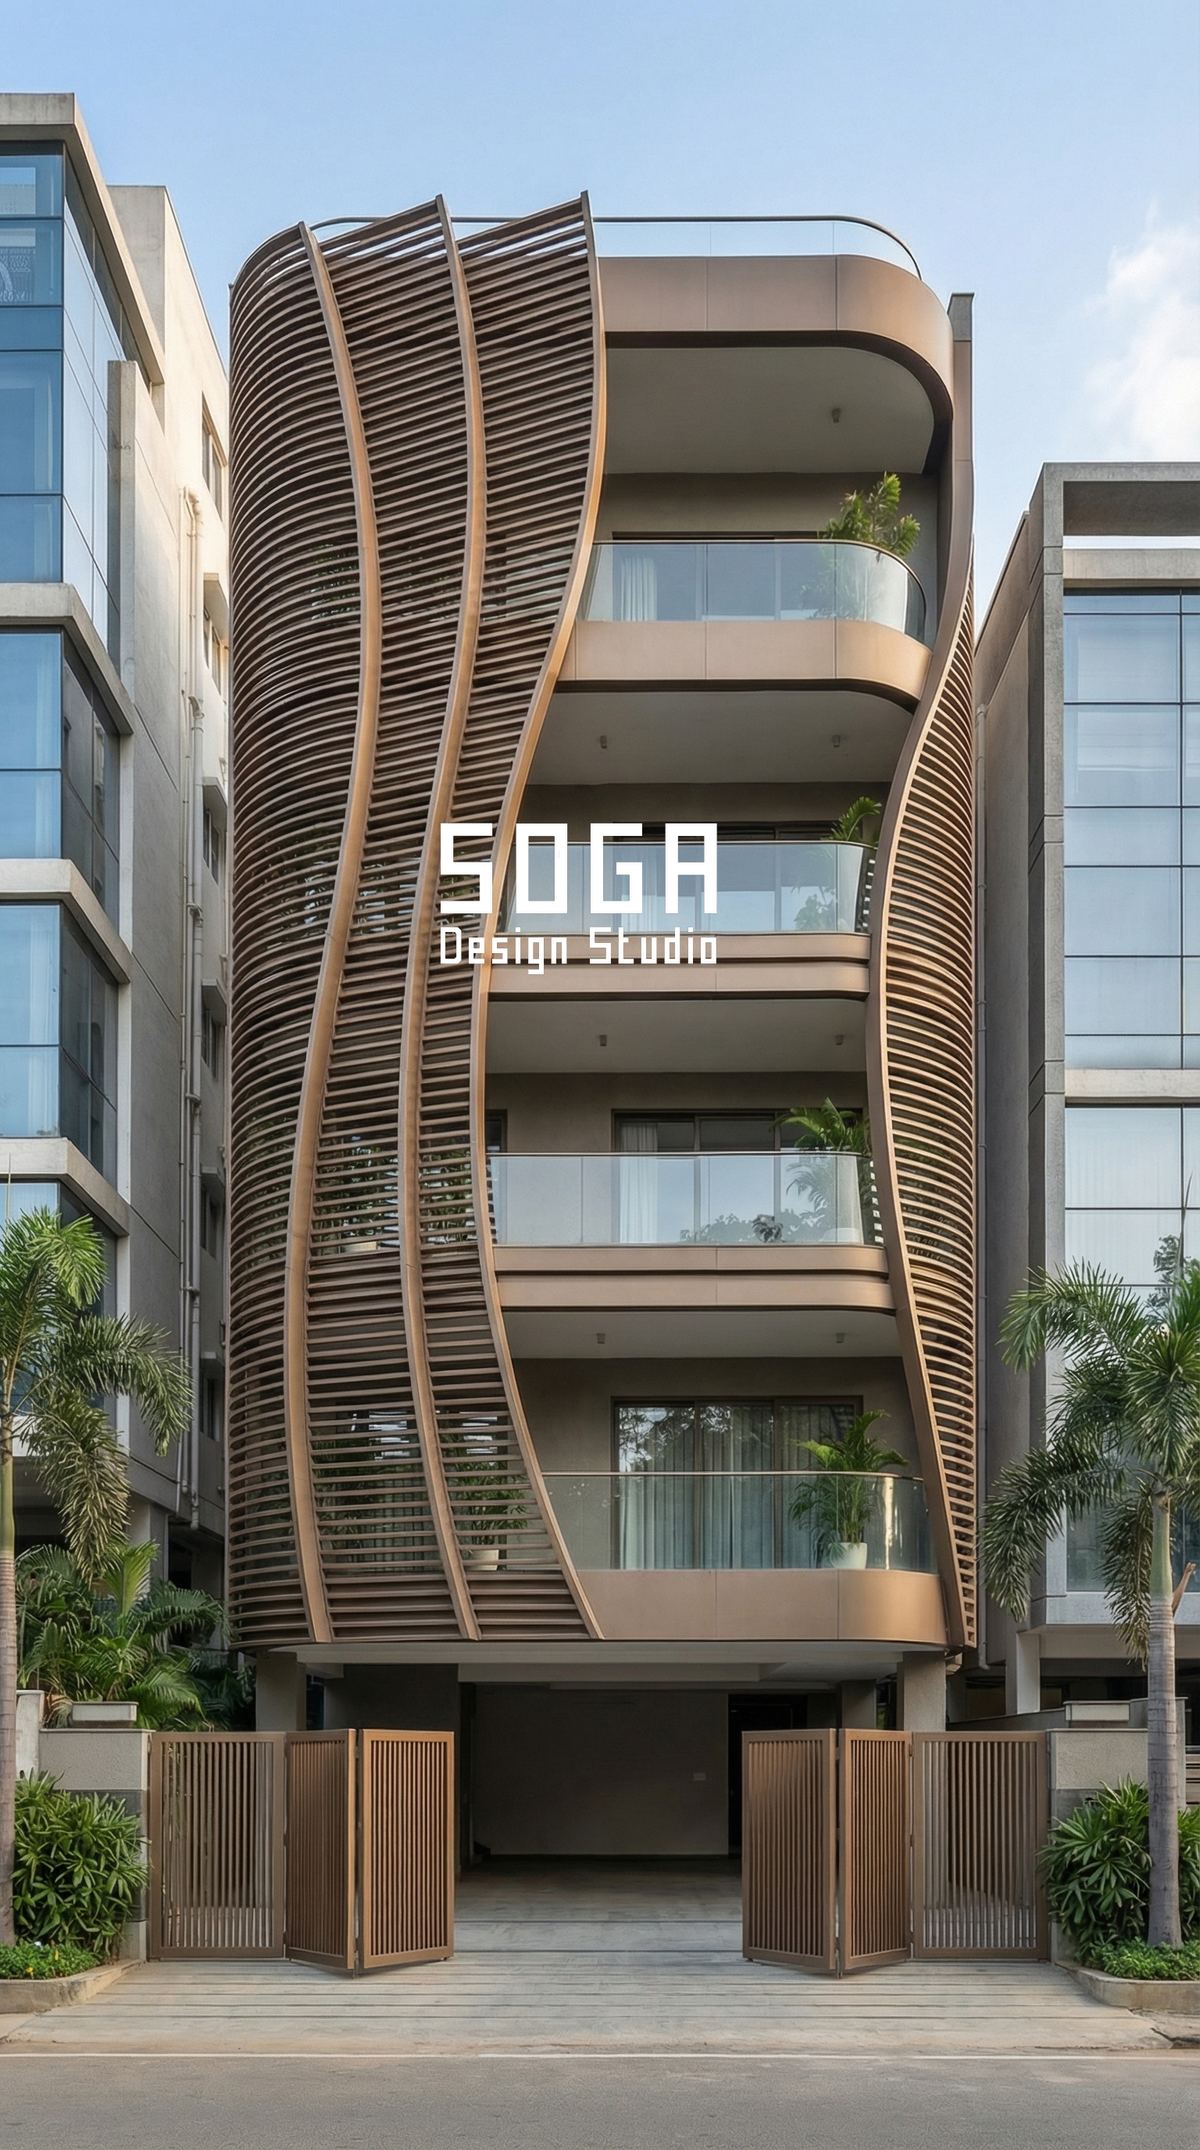
The first bay installed sets the standard for every bay after it, because the crew will match what they did last. Inspect it the day it goes up, not at the end of the week when there are nine more like it.
Stand at the real viewing distance, which for a plotted house is across the road, not at arm’s length. Then check three things: the joint achieved against the joint specified, whether the panels line through horizontally, and whether adjacent panels match in colour and sheen.
Measure the joint, do not eyeball it
Put a tape on it. A joint specified at 12 mm and built at 12 mm is correct. A joint specified at 12 mm and built at 18 mm is not necessarily wrong — but it must then be 18 mm everywhere, and somebody has to decide that now rather than discovering later that it drifts from 8 mm to 22 mm along the frontage.
Uniformity matters more than the exact number. A consistent 18 mm joint reads as a design decision. A joint that varies between 8 mm and 22 mm reads as a mistake, even though the average is the same.
Check colour between panels, not against the sample
Coated and anodised finishes vary slightly between production batches. Small differences that are invisible on a bench are obvious on a wall when two batches sit side by side in raking sunlight.
Ask for panels from one batch across any single visible face, and ask what happens if a panel is damaged and replaced from a later batch. That question is much easier to answer before installation than after.

Stage 6: The Three Places To Look Hardest
If you want to know whether a facade was designed properly or improvised, three places tell you within seconds. They are where an experienced eye goes automatically, and none of them requires a tape measure.
Where the facade meets the parapet
This is the top of the run, where accumulated vertical error has nowhere left to go. If courses have drifted, the last course arrives short or fat, and the gap under the coping tapers along the frontage or swallows a half-height unit.
A well-handled design ends on a deliberately open course or a shadow reveal deep enough that 20 mm of variation disappears into it. A poorly handled one ends on a closed line that had to be exactly right and was not.
The external corner
Two directions of deviation meet here and there is no way to average them. Compare the joint width on the return with the joint on the front face. If one is 10 mm and the other 22 mm, the corner absorbed the error — the right outcome, but it should have been designed rather than discovered.
The worst version is a mitred corner with no joint at all, which needs both faces right to about 2 mm. On a house frame that is a very expensive assumption.
Where the skin crosses a downpipe or a service
Every Indian house elevation has a rainwater downpipe crossing it somewhere, and it is almost never on the drawing. Where the facade was designed without it, the site cuts a panel around it freehand, and that cut is what the road sees.
This is the cheapest item on the whole list to fix and the most commonly skipped: put the downpipes on the elevation drawing at concept stage and let the module accommodate them, rather than asking a fitter to improvise at the end.
None of these three is a workmanship failure. Each is a place where the design either provided somewhere for deviation to go or did not, and where that decision becomes permanently visible.

Stage 7: Snagging, Spares And What To Collect At Handover
The last stage is the one that decides what the facade costs you over the next fifteen years, and it is almost entirely paperwork.
Snag in raking light, morning and late afternoon, when every dent and every misalignment shows. Flat midday light hides most of what you are looking for.
- Order spares before the production run closes. Eight to ten per cent of the clad area, stored on site. A panel matched three years later from a new batch will not match, and a discontinued profile cannot be matched at all.
- Collect the as-built panel schedule with part numbers, so a replacement can be ordered by number rather than by description.
- Collect the coating specification and batch numbers, and the warranty documents that reference them.
- Confirm the cavity drains and the weeps are clear after all trades have finished, not before.
- Photograph the completed facade at handover, from the road, as the reference for any future dispute.
Spares are the item owners decline most often and regret most reliably. On a coursed metal facade, eight per cent of the area costs a few tens of thousands of rupees at production and is effectively unobtainable afterwards.
Agree in writing who holds them and where. Spares stacked in a basement and forgotten are the same as no spares at all.
The Honest Limit Of Any Checklist
A checklist catches deviations from a design. It cannot tell you the design was wrong.
Every item above assumes there is a drawing to inspect against. Where an elevation was approved as a render and handed over as a render, there is no joint width to check the joint against and no part-number count to make, so most of this list simply cannot be run. The checklist works because the documentation exists; the two are one process, not two.
The second limit is honest about attendance. Nobody inspects seven times on a house, and the design should not require it. A facade made of repeated units with real joints, brackets with adjustment and a design that anticipated the downpipes will survive being inspected three times. A continuous curved band with 6 mm joints on an unsurveyed frame will not survive being inspected seven times. Choosing the forgiving system is the most effective quality control decision available, and it is made at the drawing board, long before anyone visits the site.
Frequently Asked Questions
At what stages should I inspect my house elevation?
Seven: the frame survey before fabrication, shop drawing approval, the mockup or first sample panel, substructure installation, the first bay of panels, the difficult conditions such as corners and parapet junctions, and snagging at handover. If you can only attend three, attend the frame survey, the mockup and the first bay — those catch most of what goes wrong.
What should the frame survey measure before facade fabrication?
Four things: slab edge at each floor against the setting-out line, floor-to-floor heights compared with each other, plumb of the two end columns over the full height, and the diagonals of the frontage to confirm the building is square. A normal Indian RCC frame runs to about ±15–25 mm, which is not a defect but must be measured before panels are cut.
How can I check shop drawings if I am not an engineer?
Count the part numbers, ask the joint width in millimetres, ask what happens at the external corner, and ask where the bracket lands relative to the slab edge. All four are answerable in a meeting. A frontage of 96 units with one repeated part number is a system; the same frontage with 96 part numbers will be slow and error-prone however well it is documented.
What is the most common thing missing from an Indian house elevation?
The rainwater downpipe. It crosses almost every elevation and is almost never on the drawing, so the site cuts a panel around it freehand at the end. Putting downpipes on the elevation at concept stage, and letting the module accommodate them, is the cheapest correction available and the most commonly skipped.
How many spare panels should I order at handover?
Eight to ten per cent of the clad area, ordered before the production run closes and stored on site with the as-built panel schedule and the coating batch numbers. A panel matched from a new batch three years later will not match, and a discontinued profile cannot be matched at all.
One inspection point is easy to miss because it is electrical rather than structural: energise every circuit before the skin closes.
Not every inspection point needs the designer physically there. See which visits genuinely need the designer.
Snagging is the start of the maintenance story rather than the end of it. See what a facade costs to keep over twenty years.
Related Reading
- Parametric facade design in India — the pillar guide
- Elevation working drawings: what your builder actually needs
- The elevation mockup: build one bay before the whole face
- Facade fixing brackets and anchors into an RCC slab
- Facade panel joint width and thermal movement in India
- What a facade design company in India actually delivers
Have Someone Inspect It Who Drew It
SOGA Design Studio reviews shop drawings, checks the frame survey and inspects the first bay for plotted houses across India — the three visits that catch most of what goes wrong on an elevation. If your facade is about to go into fabrication, this is the moment it is still cheap to be right. Talk to us about your elevation.